Assembling a refrigerated truck box requires precision and attention to detail to ensure the structure is secure and ready for use. Whether you’re building a custom reefer truck box for your fleet or assembling a refrigerated truck body for specific transportation needs, following these clear steps will help you achieve a durable, functional, and well-insulated result.
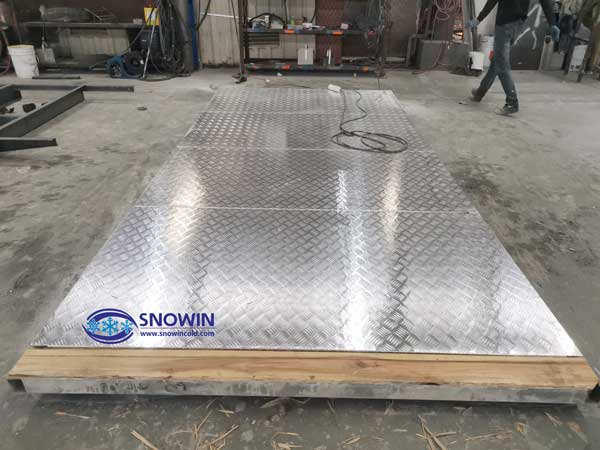
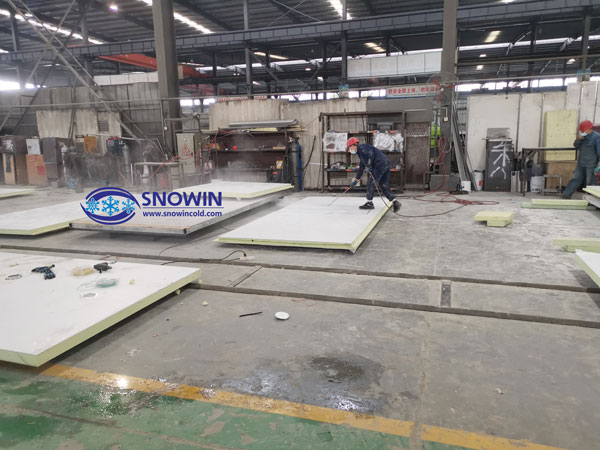
Step 1: Preparing the Base
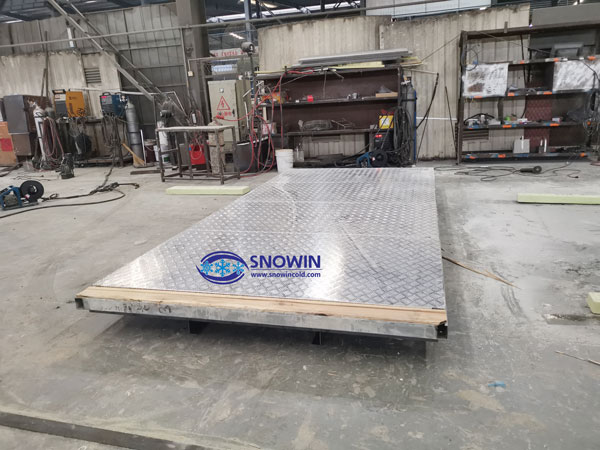
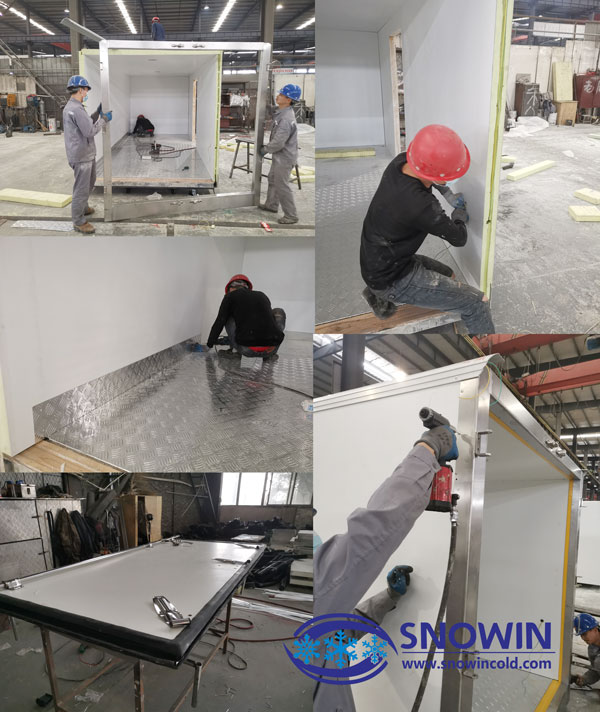
Start by placing the bottom plate on a clean, flat surface to ensure an even assembly. This step is critical to prevent any warping or misalignment during the build process.
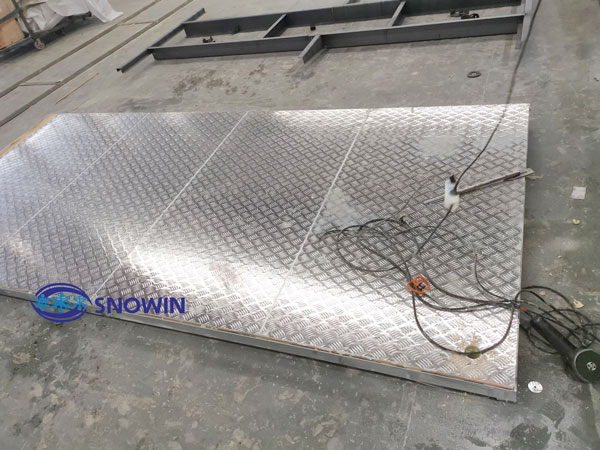
Step 2: Drilling Drainage Holes
At the cab end of the reefer truck box, drill a drainage hole on the right side. Proper drainage is essential to maintain the integrity of the refrigerated system over time.
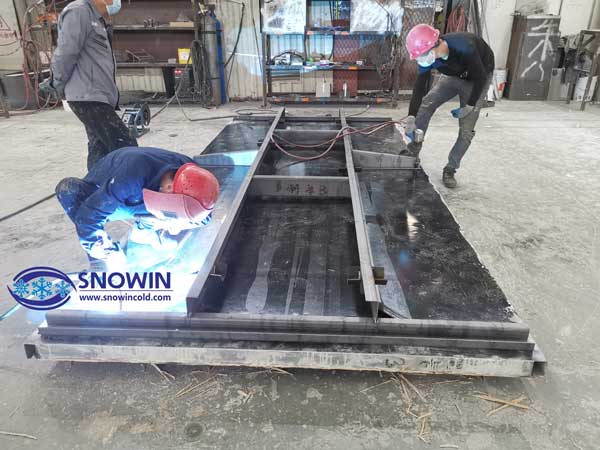
Step 3: Installing the Sub-Beam
Carefully turn the bottom plate over and install the sub-beam. This component is essential for structural support and will serve as the base for the entire assembly of the refrigerated truck body.
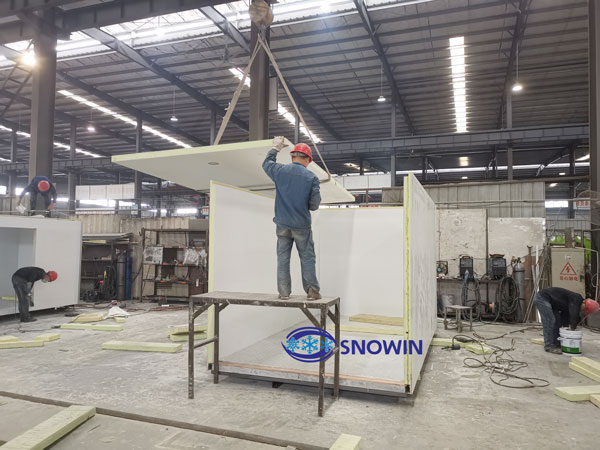
Step 4: Preparing the Box Assembly
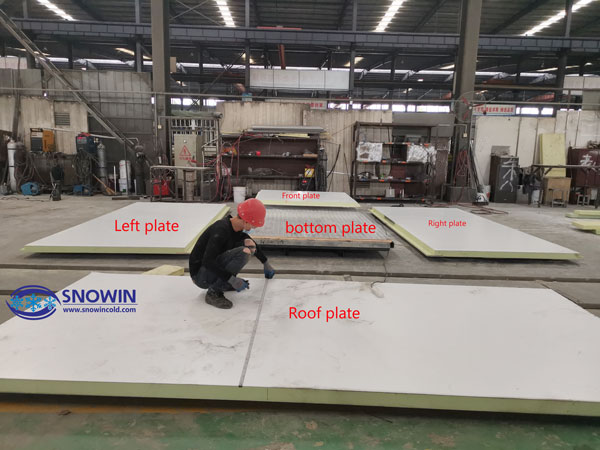
Now that the base is ready, flip the bottom plate and begin the preparation for the box assembly. Align the side panels, front panel, bottom panel, and top panel according to their specified positions, making sure everything is positioned correctly for the final assembly.
Step 5: Cutting the Side Door Area
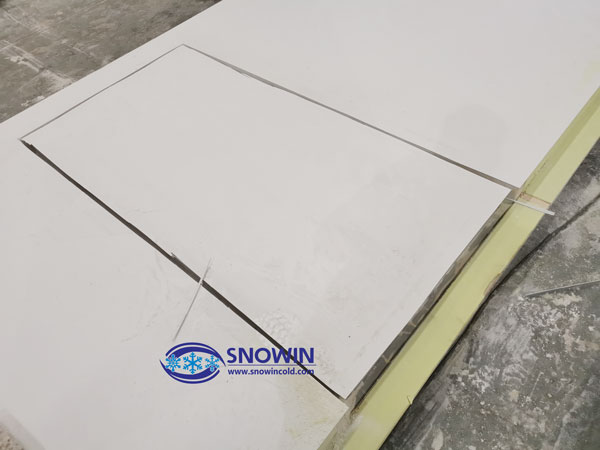
If your refrigerated truck box includes a side door, first cut away the fiberglass in the internal connecting areas. This step must be done carefully, as only the internal fiberglass should be cut. Avoid cutting the external sections to prevent damage to the box during assembly.

Step 6: Creating Wire Channels for Installation
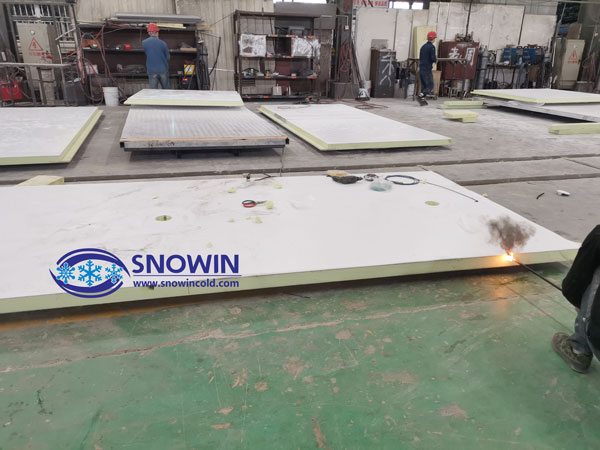
To install lighting and electrical components in your reefer truck box, use a hot iron rod to create wire channels in the insulation board. This step ensures that the wiring can be routed efficiently without compromising the insulation or structure of the refrigerated truck body.

Step 7: Dusting the Panels
Before starting the assembly, use an air gun to blow off any surface dust from the panels. This will ensure that the surfaces are clean and ready for glue application.
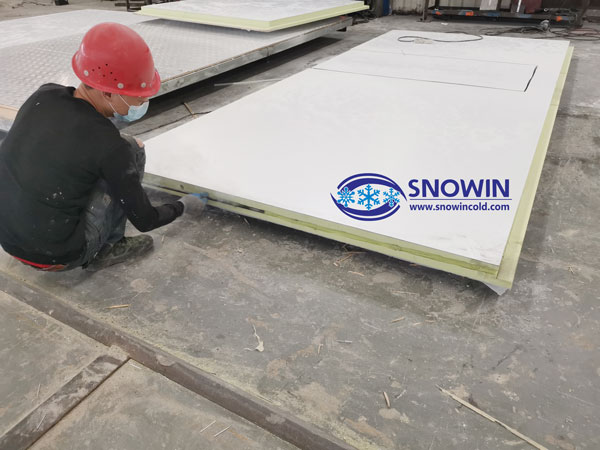
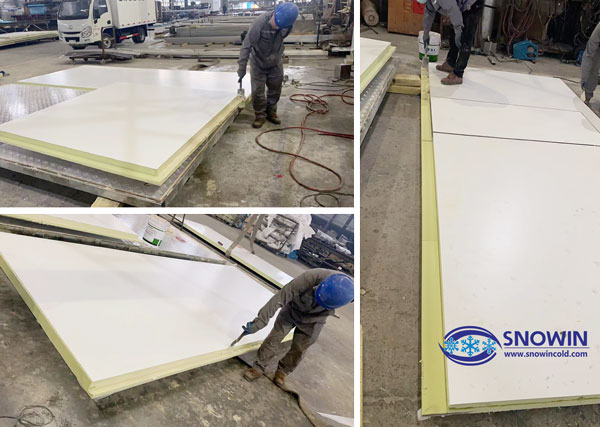
Step 8: Mixing the Polyurethane Adhesive
Mix polyurethane glue with a curing agent at a 6:1 ratio. It’s essential to mix the glue in two stages, as it will harden quickly.
Step 9: Applying the Glue
Evenly apply the adhesive along the joints of the refrigerated truck box panels. This will ensure a secure and long-lasting bond between the panels.
Step 10: Assembling the Panels
Begin the assembly by attaching the front panel near the cab. Make sure it aligns correctly with the other panels. Once positioned, apply glue to secure the front panel, then continue with the left and right side panels.
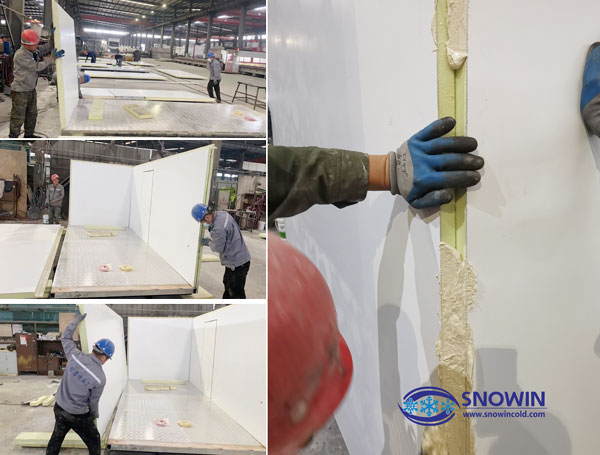
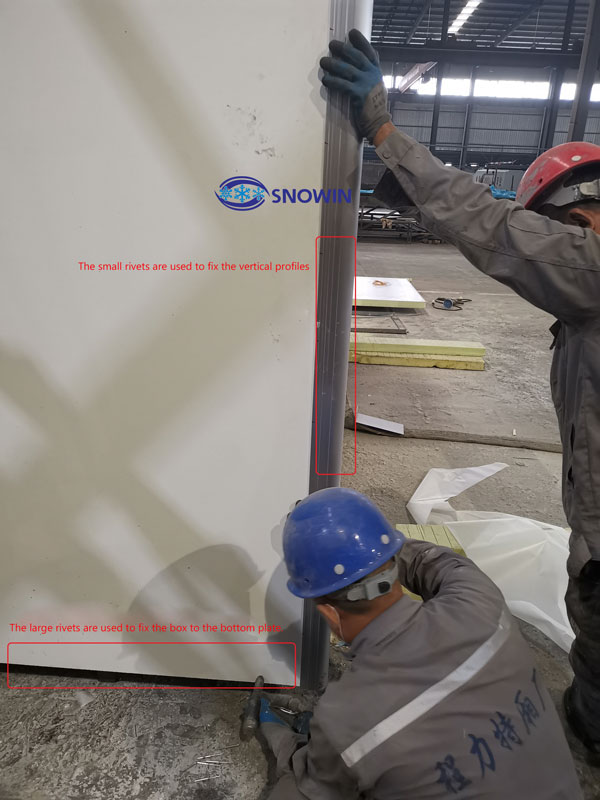
Step 11: Riveting the Panels
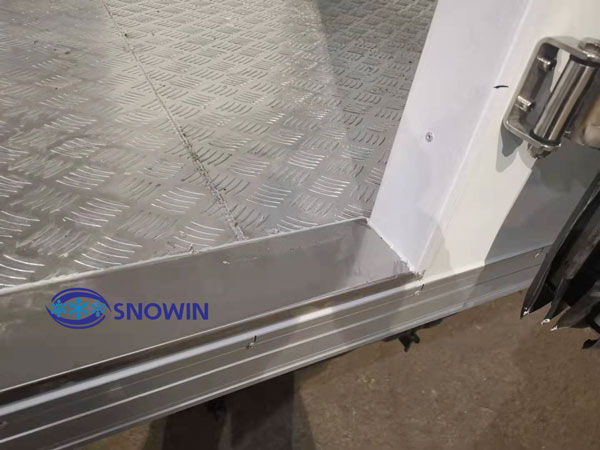
After applying the glue, fix the aluminum profile edge to the panels using rivets. The rivets should be spaced 20 cm apart. For added strength, use larger rivets to secure the connection between the refrigerated truck body panels and the bottom plate.
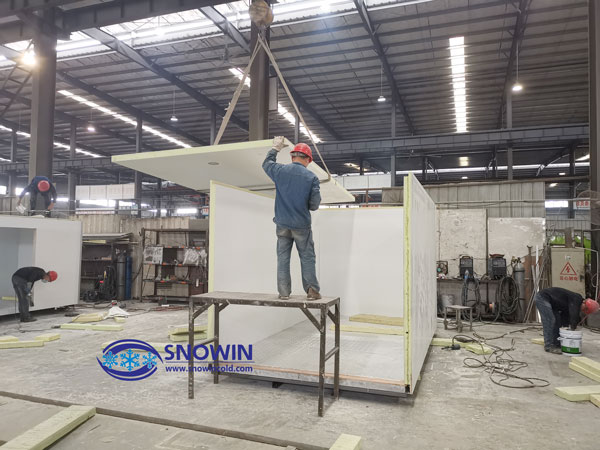
Step 12: Installing the Top Panel
Once the side panels are in place, align and install the top panel. Apply glue generously to the joints to ensure a secure seal.
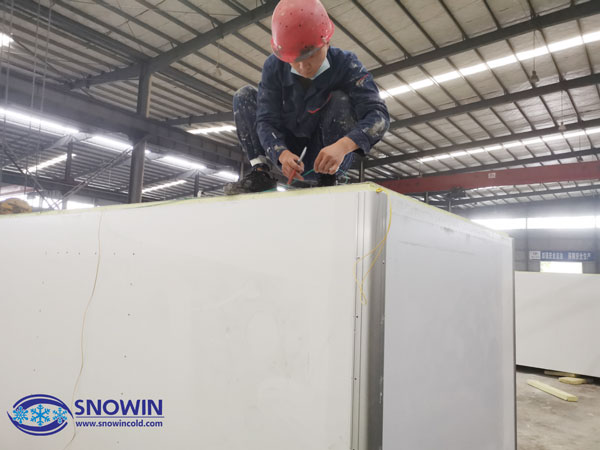
Step 13: Electrical Wiring and Final Adjustments
At this stage, you can install the electrical wiring for the ceiling light and other electrical components. Ensure that the wires are routed properly to avoid interference with other parts of the reefer truck box.
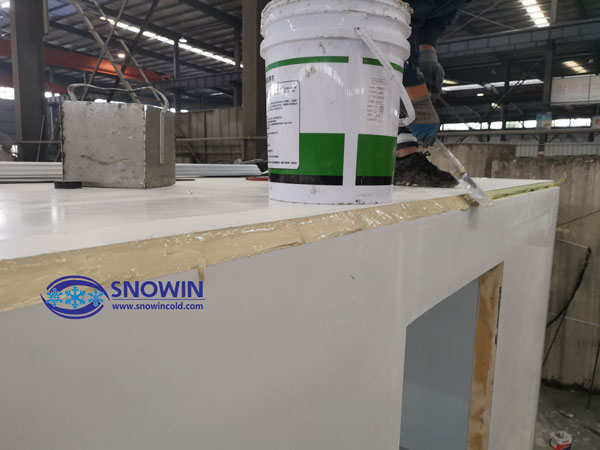
Step 14: Sealing the Box
Apply structural adhesive to the edges of the anchor plate and seal the box to prevent any potential water leakage. This step is crucial for maintaining the thermal integrity of the refrigerated truck body.
Step 15: Installing the Tailgate and Final Touches
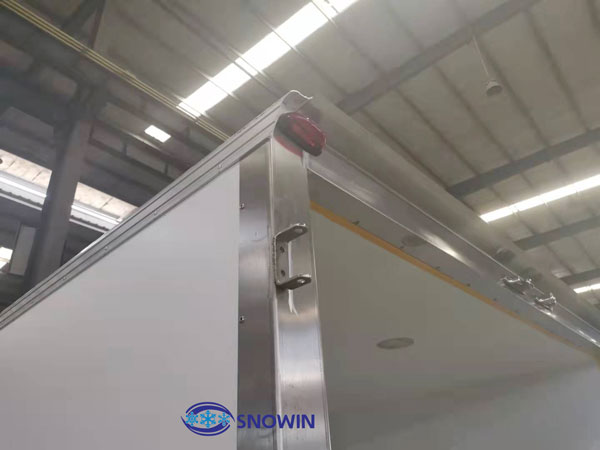
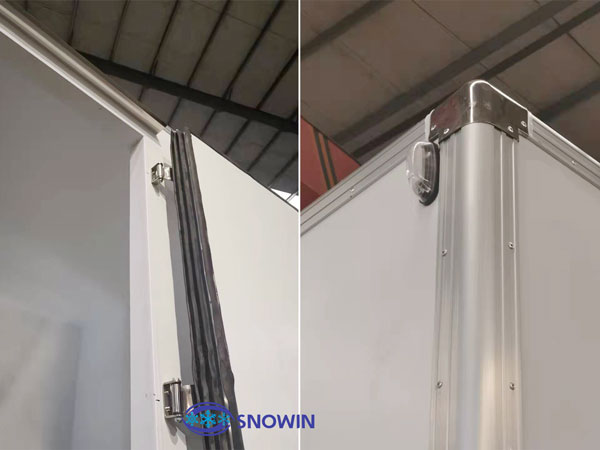
Once the main assembly is complete, install the tailgate in its correct position. Add seals, stainless steel lock components, and any additional details such as rain shields and warning lights. These finishing touches will ensure that your refrigerated truck box is fully functional and ready for use.
Step 16: Exterior and Interior Details
Pay close attention to exterior details, including the rain shields and the bottom components of the door frame. Additionally, ensure that the front end of the reefer truck box, near the cab, is well-sealed with stainless steel corners and warning lights.
Conclusion
Assembling a refrigerated truck body or reefer truck box involves meticulous planning and precision. By following these assembly steps, you can ensure that the final product is both durable and fully functional for your specific transportation needs.